
IKEA furniture assembly gets much easier when you slow down at the points where mistakes usually happen: before the first screw, when matching diagrams to panels, and before tightening the frame fully. The best approach is to sort everything first, check orientation more often than feels necessary, and stop as soon as parts do not line up instead of forcing them.
What to do before assembling IKEA furniture
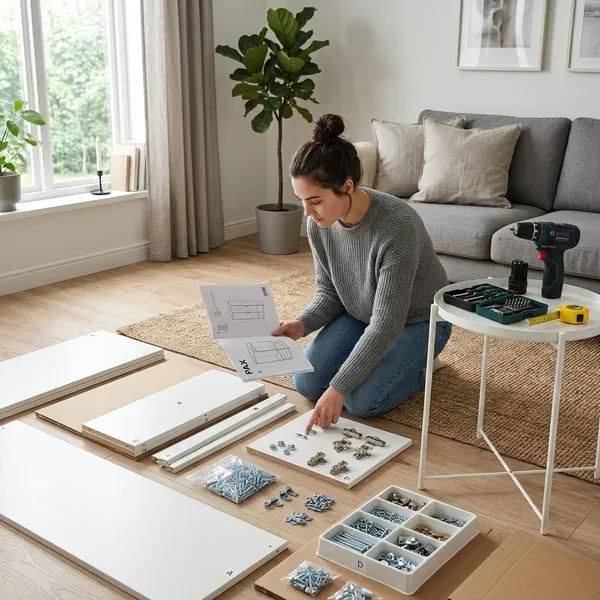
A clean setup prevents more problems than any tool upgrade. For a small side table, you may only need a clear rug and a bowl for screws. For a wardrobe, bed frame, or dresser, treat the setup like part of the build: make room, plan where the finished piece will stand, and know which steps need another person.
Clear space and protect the floor
Choose an area large enough to lay panels flat and turn the furniture without dragging it against walls or door frames. A blanket, rug, moving pad, or flattened cardboard protects both the floor and the finished edges of the panels.
Read the instructions from start to finish
Skim-building is where many IKEA mistakes start. Read the booklet once before touching the hardware so you know where the awkward steps, mirrored parts, and two-person icons appear.
This is especially useful for drawers, hinges, and tall frames. Those builds often look simple at the start, then depend on one panel facing exactly the right direction several steps later.
Count parts and sort hardware
Check the major boards first, then compare the smaller hardware with the parts list. Missing one cam lock or using one screw too early is easier to fix before the frame is half assembled.
- Use separate cups or trays: keep screws, dowels, cams, bolts, and shelf pins apart.
- Keep labels visible: if parts are numbered or bagged separately, do not mix them too soon.
- Group panels by job: sides, shelves, drawers, backs, and legs are easier to find when stacked separately.
- Save the packaging until the end: small fittings can hide in cardboard folds or plastic bags.
Gather the tools shown in the manual
Start with the tools shown in the instructions, then add only what gives you better control. A comfortable screwdriver, rubber mallet, tape measure, and soft cloth are often more useful than a powerful drill.
Arrange help for two-person steps
When the manual shows two people, it usually means alignment or safety matters, not just strength. One person may be able to lift a side panel, but holding it square while inserting bolts is a different task.
For renters building a small desk, working alone may be fine if the parts are light and easy to control. For a tall bookcase, wardrobe, or dresser, arrange help before you reach the lifting step rather than balancing a half-built frame and hoping it holds.
How to follow IKEA assembly diagrams
IKEA diagrams are not just showing the order of assembly. They also show which edge faces out, where grooves should sit, how far a screw goes, and when a part should stay loose until later.
Match screws by shape and length
Do not choose screws by "close enough." Place similar screws side by side and compare length, head shape, and thread before using them. A screw that is only slightly too long can push through a visible surface, while a short one may not hold a bracket securely.
Be extra careful around hinges, drawer runners, and support brackets. These parts depend on the correct hardware to stay straight under repeated use.
Check hole positions and finished edges
Before joining panels, match the real board to the drawing by looking at holes, grooves, and finished edges. Many left and right pieces look identical until you notice a row of shelf holes or a groove for the back panel.
Follow arrows and warning symbols
Arrows show direction, rotation, insertion points, and sometimes the correct angle for tightening. On cam locks, for example, the arrow usually needs to face the incoming bolt before it can grab properly.
Warning symbols deserve the same attention. They may tell you not to force a piece, to use two people, or to anchor the furniture later. If a symbol looks unclear, compare the step before and after it instead of guessing.
Check each step before moving on
Pause after each major step and compare the assembled section with the diagram from more than one angle. This small delay is faster than taking apart a drawer unit because one side panel was flipped.
- Check that finished edges face the correct direction.
- Confirm the hardware matches the exact step, not just the general shape.
- Keep main frame screws slightly loose until the structure is square.
- Test drawers, runners, or hinges while access is still easy.
- Tighten fully only when the frame sits straight and the gaps look even.
What to do when IKEA parts do not line up
If parts do not line up, stop tightening and work backward. Most alignment problems come from a reversed panel, wrong fastener, or earlier joint that was tightened too soon. Forcing the joint can chip laminate, widen holes, or make the whole frame sit twisted.
Check for reversed panels
Look first for a panel facing the wrong way. The clues are usually small: edge banding on the wrong side, a back-panel groove facing forward, hinge cups on the wrong face, or shelf holes that no longer match the drawing.
If you need to remove the panel, loosen nearby fasteners first. Pulling against tight dowels can damage the hole or tear the surface around it.
Confirm you used the right hardware
Go back to the hardware chart and compare the installed fastener with the one shown for that step. Check length and head shape closely; two screws can look nearly identical until one stops a joint from closing.
If a screw feels crooked or unusually tight, remove it gently and start it again by hand. Resistance is often a sign of angle, not strength.
Review the last completed step
The mistake is often one step behind you. Check whether a dowel is fully seated, a cam is turned the correct way, or two mirrored parts were swapped left to right.
Do not jump ahead to "make it fit." IKEA pieces are designed to build in sequence, so skipping the cause usually creates a bigger problem when the back panel, drawer, or top piece has to go in.
Check for damaged or missing parts
Sometimes the part really is the issue. Inspect bent brackets, cracked dowels, swollen panel edges, crushed corners, and damaged pre-drilled holes in good light.
If hardware is missing, use the product name and part number from the manual when contacting IKEA customer support or asking at a store. For a damaged board, keep the packaging and order details until you know what replacement option is available.
What to check after IKEA assembly
A finished-looking piece still needs a final check before daily use. Focus on the things that affect safety and long-term function: tight joints, a level frame, smooth moving parts, and wall anchoring where required.
Check joints and fasteners
Go over visible screws, bolts, and cam locks by hand. They should feel snug, not crushed into the surface. Corners, legs, center supports, and shelf supports deserve the most attention because they carry repeated stress.
A slight creak or wobble now is a sign to inspect the connection before loading the furniture. Once shelves are full or drawers are packed, small looseness becomes harder to diagnose.
Check that the frame sits level
Move the furniture to its final spot and press gently on opposite corners. If it rocks, check whether the floor is uneven, the frame was tightened while twisted, or a panel did not seat fully.
For cabinets, desks, and bookcases, a small level issue can affect more than appearance. Doors may drift, drawers may rub, and weight may sit unevenly on the frame.
Test doors and drawers
Open and close everything several times before loading it. Drawers should slide without scraping, and doors should sit with reasonably even gaps.
- If a drawer catches: check that both runners are mounted at the same height.
- If a door gap is uneven: use the hinge adjustment screws before moving the cabinet into a tight space.
- If movement changes after loading: remove the weight and inspect supports or runners again.
Complete the required wall anchoring
Anchor tall furniture when the manual requires it, especially dressers, bookcases, cabinets, and high shelving. A piece that feels stable while empty can behave differently when drawers are open, shelves are loaded unevenly, or a child pulls on it.
Use anchoring hardware that suits your wall type. Drywall, studs, masonry, and plaster may need different fixings, so it is better to confirm the right method than rely on a weak attachment point.
Conclusion
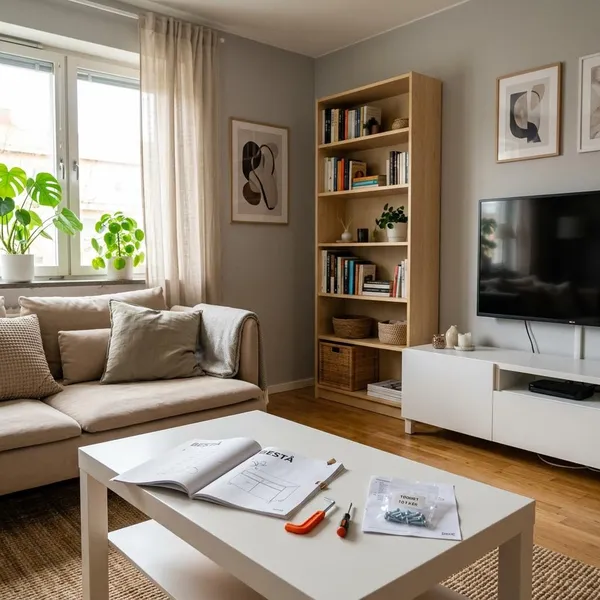
The easiest IKEA builds are usually not the fastest ones; they are the ones where you sort first, check orientation often, and resist forcing anything that feels wrong. If the furniture will be used every day or needs to stay safe around children, pets, or heavy storage, take the extra few minutes to level it, test the moving parts, and anchor it properly before calling the job done.