
The safest answer to how to clean wood furniture properly is to start dry, use as little moisture as possible, and protect the finish before worrying about the stain. Check whether the surface is sealed, waxed, oiled, unfinished, or antique, then clean with the mildest method that removes the mess. Most everyday furniture only needs dusting, a barely damp cloth, and quick drying.
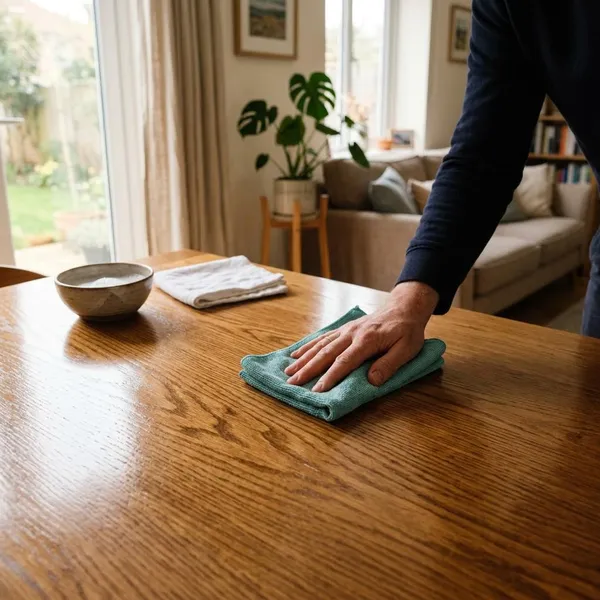
How to clean finished wood furniture
Finished wood usually has a protective layer such as varnish, lacquer, polyurethane, wax, or oil. That finish is what you are really cleaning, so the first priority is not strength but control: remove loose dust, use a gentle cleaner only if needed, and never leave the surface wet.
Remove dust with a soft cloth
Start with a clean microfiber or soft cotton cloth and wipe with the grain. Dust can scratch like fine grit once moisture is added, especially on glossy or dark finishes, so this dry pass is not just cosmetic. If the piece only looks dull, dusting may be enough.
Choose a cleaner suited to the finish
Use the mildest option that fits the surface. For many sealed pieces, plain water on a barely damp cloth works for fingerprints, while a few drops of mild dish soap in warm water can help with light grime.
- Sealed modern finish: mild soap solution, used sparingly.
- Waxed or oiled wood: less moisture and a product made for that finish.
- Unfinished wood: avoid wet cleaning unless you know the surface can tolerate it.
- Antique or fragile finish: dry cleaning first, then cautious spot testing.
Wipe gently with a barely damp cloth
Dip the cloth, wring it out hard, and wipe a small area at a time. The cloth should not leave water trails behind. If it does, it is too wet for wood furniture.
Fold the cloth into a flat pad and rotate to a clean section as it picks up dirt. On a large table or sideboard, working in sections prevents streaks and stops moisture from sitting too long near edges.
Clean grooves with a soft brush
Use a soft toothbrush, makeup brush, artist's brush, or vacuum brush attachment on low suction for carvings, trim, turned legs, and panel edges. Brush gently, then remove loosened dust with a dry cloth. This is especially useful around drawer pulls and chair backs where skin oils collect in small details.
Dry the surface right away
Drying is part of the cleaning step. Use a separate dry microfiber or cotton cloth and buff lightly with the grain until the surface feels dry, including corners, seams, and edges.
If you are cleaning a table with leaves, veneer edges, or raised trim, spend an extra minute there. Moisture tends to hide in those spots even when the flat top already looks dry.
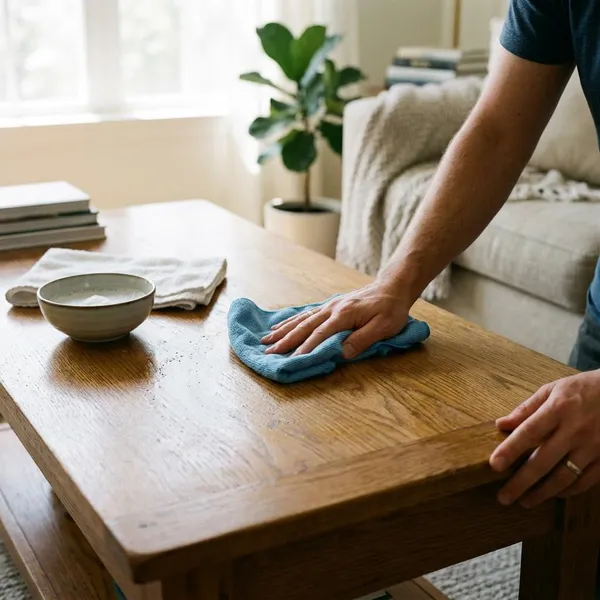
How to tackle grime on wood furniture
Grime needs patience more than force. Fingerprints, greasy kitchen film, sticky spots, and old polish buildup usually sit on top of the finish at first, so treat them in layers instead of trying to remove everything with one aggressive wipe.
Wipe away fingerprints with a soft cloth
Fresh fingerprints often come off with a dry microfiber cloth. If the marks remain, try a barely damp cloth before adding soap. This is enough for most drawer fronts, chair backs, and coffee table edges that are touched often.
For busy household pieces, such as a dining table used by children or a dresser near a bathroom sink, a quick wipe of touch points every few days prevents skin oils and lotion from turning into a sticky film.
Clean greasy spots with a finish-safe cleaner
Grease near kitchens and dining areas may need mild soap or a cleaner labeled safe for finished wood. Apply cleaner to the cloth, not directly to the furniture, so liquid does not pool around joints or hardware.
- Start weak: a small amount of soap is safer than a strong degreaser.
- Repeat lightly: several gentle passes are better than one hard scrub.
- Stop if the finish changes: haze, tackiness, or color change means the product is not a good match.
Lift sticky residue gently without scraping
Soften sticky residue before trying to remove it. Hold a slightly damp cloth with mild soap over the spot for a short moment, then wipe with the grain. Repeat rather than scraping with a fingernail, knife, or rough pad.
For a small tape mark or gummy patch, a tiny amount of oil on a cotton swab may help, but clean and dry the area afterward so you do not leave an oily halo. Avoid this on raw, porous, or unknown finishes unless you have tested first.
Clean buildup in small sections
Work across one small area, dry it, then move on. This method is useful on hutches, sideboards, coffee tables, and furniture that has a thin, even film from cooking air, candles, or frequent handling.
Small sections also help you adjust. If plain water removes grime from the top, do not use soap everywhere by habit. If the area around handles needs more work, spend time there without wetting the whole piece.
What to avoid when cleaning wood furniture
Most cleaning damage comes from too much water, too much pressure, or a cleaner that is better suited to tile than furniture. A sturdy hardwood piece can still have a delicate finish, so treat the surface as the vulnerable part.
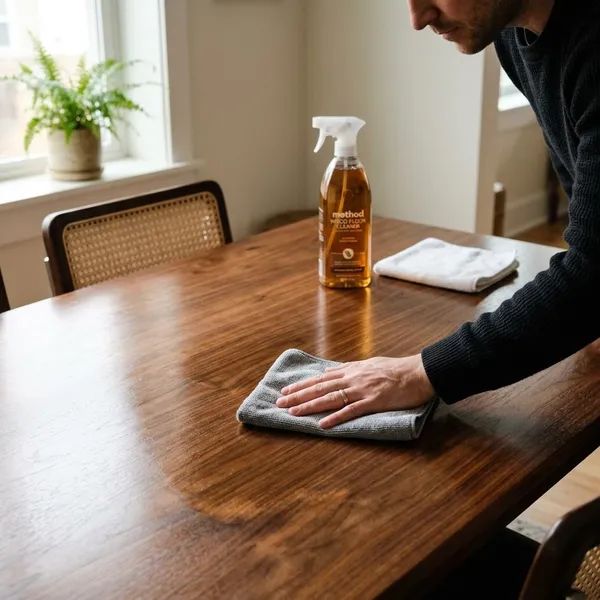
Soaking the surface
Never let liquid sit on wood furniture. Water can slip through tiny cracks in the finish, seams, veneer edges, table leaves, and joints. That can cause swelling, cloudy patches, dark marks, or lifted veneer.
Using harsh or abrasive cleaners
Bleach, ammonia, strong degreasers, undiluted alcohol, and gritty cleaning powders can dull, soften, or strip a finish. Full-strength vinegar is also risky on many wood finishes because acidity can affect the sheen over time.
If a cleaner is not clearly safe for finished wood, do not use it as a shortcut. Test unfamiliar products where a mark will not show, then check for haze, color change, or a tacky feel after the surface is dry.
Scrubbing with rough pads
Rough pads can leave fine scratches even when the surface looks cleaner at first. Glossy tabletops and dark stained furniture show this damage quickly in sunlight. Use repeated soft passes, not pressure, when grime is stubborn.
Leaving moisture in joints and edges
Edges, corners, hardware, drawer fronts, carved trim, and table seams hold moisture longer than flat panels. Run a dry cloth along these areas after any damp wipe, especially on bathroom-adjacent furniture or dining pieces cleaned often.
Treating every finish the same
A sealed modern tabletop, a waxed dresser, an unfinished shelf, and an antique cabinet should not be cleaned the same way. Sealed furniture usually tolerates a light damp wipe, while waxed, oiled, raw, or fragile surfaces need a more conservative approach.
For a valuable or antique piece with cracks, flaking finish, or an unknown coating, stay with dry dusting and very careful spot testing. If the finish already looks unstable, professional restoration advice is safer than experimenting with stronger cleaners.
Conclusion
Clean wood furniture by doing the least risky thing that actually works: dust first, use a barely damp cloth only when needed, match the cleaner to the finish, and dry every edge before you walk away. Everyday sealed furniture can usually handle this simple routine, but antique, waxed, oiled, or unfinished pieces deserve slower and more cautious care.