
The safest way to clean leather furniture is to identify the finish first, then use the gentlest approved cleaner with very little moisture. If you do not know the leather type, treat it as delicate: dust it, spot test in a hidden place, and avoid strong household products until you know how the surface reacts.
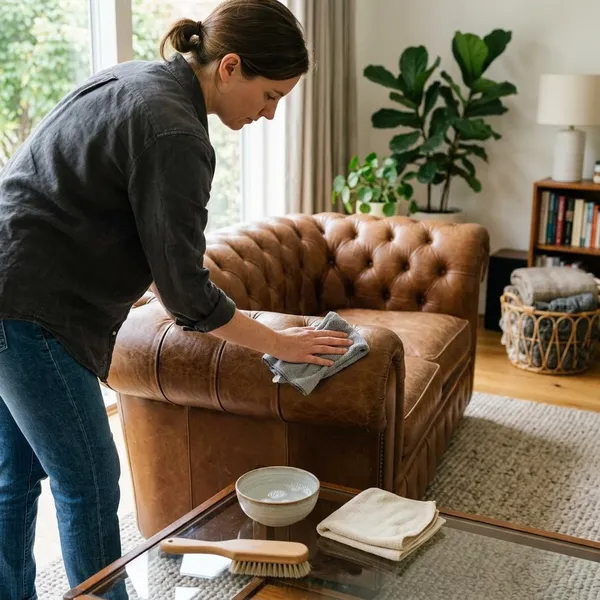
How to clean leather furniture step by step
A good cleaning routine has one main priority: remove dirt without soaking or stripping the finish. A protected leather family sofa can usually handle a light, careful clean more easily than an aniline chair, suede ottoman, or older piece with worn edges, so start mild and only go further if the leather responds well.
Remove dust and crumbs
Begin dry. Use a soft microfiber cloth on open surfaces and a vacuum with a soft brush attachment for seams, cushion gaps, tufting, and the front edge of seats. This step matters because crumbs and grit can scratch the finish once you start wiping with cleaner.
- Lift loose cushions before vacuuming, if the design allows it.
- Use light suction near stitching and piping.
- Pay extra attention to armrests and headrests, where skin oils build up first.
Apply an approved cleaner as directed
Choose a cleaner that matches the leather finish, preferably one recommended by the furniture maker or product care label. Put the cleaner on a cloth, not directly on the sofa or chair, so you can control the amount and avoid dark spots or liquid collecting near seams.
- Test in a hidden area and wait for dullness, color change, tackiness, or darkening.
- Use a barely damp microfiber cloth, not a dripping one.
- Clean one small section at a time so you can see how the surface reacts.
- Switch cloths when one becomes dirty instead of spreading grime around.
Wipe gently without soaking the leather
Use light pressure and short passes. Leather should not be scrubbed like tile, vinyl, or fabric upholstery. If a mark does not lift after a few gentle wipes, pressing harder is more likely to create a shiny patch, color loss, or a larger stain than to solve the problem.
Remove residue as instructed
Some cleaners need a follow-up wipe; others do not. Follow the product directions instead of automatically "rinsing" the leather. When residue removal is needed, use a clean cloth lightly dampened with distilled water and make one or two gentle passes.
Let the surface dry away from heat
Blot any remaining surface moisture with a dry microfiber cloth, then let the furniture air dry at room temperature. Do not use a hair dryer, space heater, radiator, or direct sunlight to speed things up.
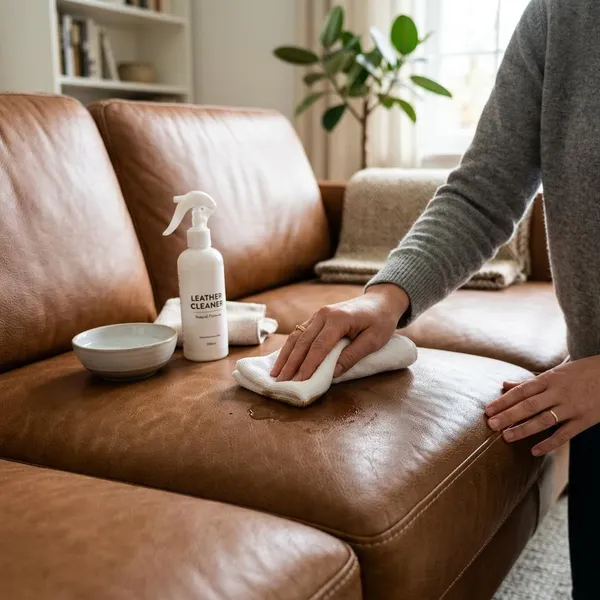
How to handle spills and stains on leather
Spills need a fast but calm response. The first goal is to keep the mess from spreading or soaking in; the second is to choose a treatment that suits the finish. A small water spill on protected leather is a lower-risk job than ink on pale leather or oil on an absorbent finish.
Blot fresh spills instead of rubbing
Blot fresh spills with a clean, dry cloth or paper towel. Press down, lift, and move to a dry part of the cloth. Rubbing pushes liquid across the grain and can drive pigment or moisture deeper into the leather.
Water, coffee, juice, or wine should be handled immediately. Once the extra liquid is gone, use a barely damp cloth only if the leather finish allows it, then dry the area with a clean cloth.
Use a finish-safe treatment for light marks
Light marks are not all the same, so avoid using one homemade fix on everything. Grease, ink, dye transfer from jeans, and general grime each need a different level of caution.
- Grease or oil: blot first, then use an absorbent powder only if it is suitable for the finish.
- General grime on protected leather: try the approved cleaner again with a clean cloth.
- Ink or dye transfer: stop early if the color spreads or lifts onto the cloth.
- White leather: avoid oily treatments and colored conditioners that may leave a tint.
Get expert help for stubborn stains
Call a leather specialist if the stain remains after mild cleaning, if the leather darkens in a ring, or if color transfers onto your cloth. Stubborn ink, wine, dye transfer, mold, large oil marks, suede, nubuck, aniline leather, antique pieces, and costly sectionals are all situations where DIY cleaning can quickly become expensive damage.
What to avoid when cleaning leather furniture
Most leather cleaning problems come from using too much force, too much liquid, or the wrong product. The safest rule is simple: if a method would be aggressive on your skin, it is probably too aggressive for leather upholstery.
Using household cleaners without approval
Avoid bleach, ammonia, glass cleaner, disinfecting sprays, harsh degreasers, and all-purpose cleaners unless the furniture maker specifically says they are safe. These products can dull the finish, dry the surface, or leave sticky residue.
Scrubbing with rough pads or brushes
Do not use abrasive pads, stiff brushes, scrub sponges, or rough melamine foam on leather furniture. They can flatten the grain, remove color, or create shiny worn patches. If a microfiber cloth is not enough, change the cleaner or stop and reassess rather than increasing pressure.
Soaking the leather or seams
Never pour cleaner onto the furniture and never work with a dripping cloth. Liquid can settle into seams, stitching, cushion foam, unfinished edges, and worn cracks where it dries unevenly or causes odor, stiffness, or mildew.
This matters most on older furniture, bonded leather, distressed finishes, and pieces with visible cracking. Once moisture gets below the surface, a simple cleaning job can turn into a repair problem.
Drying with direct heat
Direct heat may look convenient, but it can dry leather too quickly and make it feel stiff over time. Use a dry cloth to remove surface moisture, then let the piece dry naturally away from sunny windows, heaters, fireplaces, and vents.
Using the same method on every leather type
Smooth protected leather, aniline leather, suede, nubuck, bonded leather, bi-cast, and faux leather do not all clean the same way. Suede and nubuck usually need specialty brushes and products, while protected leather can often tolerate a little more surface cleaning.
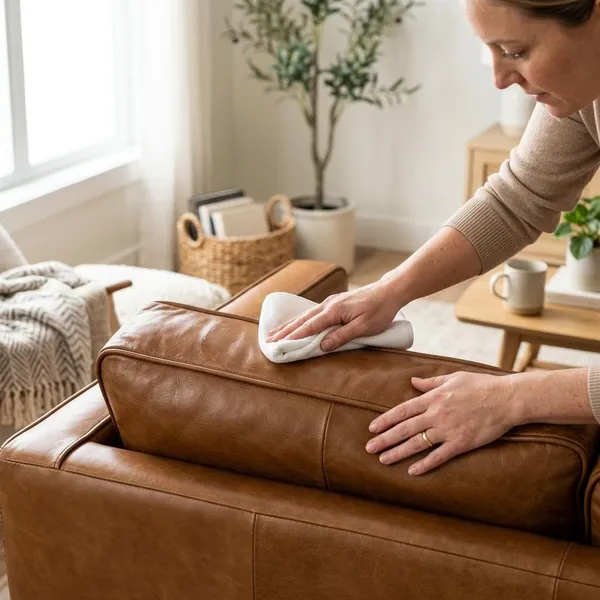
How to care for leather after cleaning
After cleaning, the goal changes from removing dirt to keeping the leather flexible, even-looking, and protected from daily wear. For most homes, that means sensible conditioning, better furniture placement, and quick attention to spills rather than a complicated care routine.
Condition only as the manufacturer recommends
Conditioner can help dry leather feel more supple, but too much can leave the surface greasy, sticky, or darker than before. Use it only if the product is suitable for your leather type, and apply it with a cloth rather than pouring or spraying it directly onto the furniture.
If no schedule is available, many finished leather pieces only need conditioning occasionally, often around every 6 to 12 months depending on use and sunlight exposure. If the leather still feels soft after cleaning, waiting is usually better than over-treating it.
Keep furniture away from direct sun and heat
Placement does more than many extra products. A leather sofa sitting in daily sun or next to a heating vent will usually fade, dry, and crease faster than one kept in a more stable spot. If moving the furniture is not realistic, curtains, blinds, cushion rotation, or a small layout change can reduce uneven wear.
Dust regularly and clean spills promptly
Light, regular care beats occasional rescue cleaning. Dust weekly with a dry microfiber cloth, then deal with spills as soon as they happen. In a home with pets, children, or daily meals near the sofa, quick blotting and frequent dry dusting will protect the furniture far better than waiting for a big deep clean.

Conclusion
Leather furniture stays in better shape when you clean less aggressively, not more aggressively. Start by checking the finish, remove dry debris, use an approved cleaner with minimal moisture, and stop when a stain needs specialist care instead of forcing a harsher fix. That kind of restraint is what keeps the surface comfortable, even, and worth living with for years.