
To assemble furniture well, start by checking the parts and keeping the frame slightly loose until everything lines up. Most bad builds come from rushing the first ten minutes or tightening one corner too early, so the safest approach is slow at the start and firm only at the end.
How do you assemble furniture step by step?
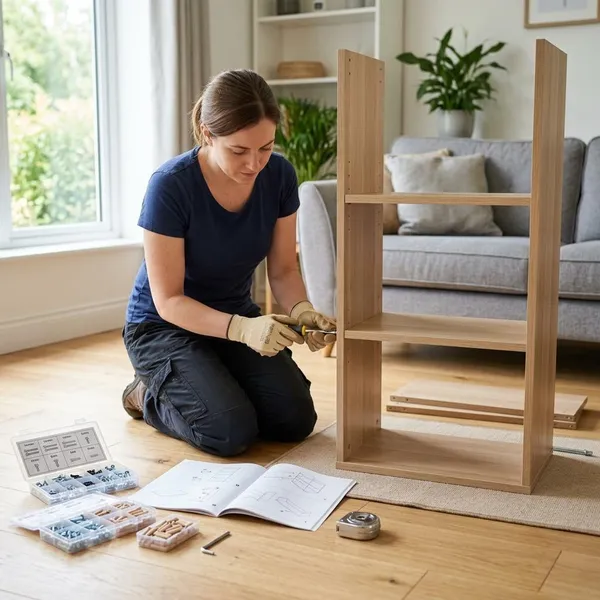
The best order is simple: prepare the space, confirm the parts, follow the manual, build the frame loosely, align the panels, then tighten and test. If you are building a small side table, you can usually work alone. For a tall bookcase, bed frame, wardrobe, or couch, treat lifting and alignment as a two-person job unless the instructions clearly say otherwise.
Prepare a clear workspace
Use a clean, well-lit area where you can lay out the longest panel flat and still walk around it. A blanket, cardboard sheet, or rug protects finished edges from scratches. Keep the box nearby until the build is finished, because small parts and labels sometimes hide in packaging.
If the piece will be heavy when finished, assemble it close to its final location. Moving a half-built cabinet through a doorway is when panels get chipped and joints get stressed.
Unpack and check every part
Open the box carefully and compare every panel, rail, bracket, cam, dowel, screw, and cover with the parts list. Do this before the first screw goes in. A missing shelf pin is annoying; a missing support rail can make the whole build unsafe or impossible to finish correctly.
- Look for damage: cracked corners, split holes, bent brackets, or torn upholstery.
- Check left and right parts: hole patterns often reveal the difference.
- Keep spare pieces separate: do not assume every extra screw belongs in the build.
Sort and label the hardware
Put each fastener type into a separate cup, tray, or section of the cardboard packaging. If the manual calls them A, B, C, and D, copy those labels. This prevents the common mistake of using a screw that looks close enough but is too long for a visible panel.
Read the instructions fully
Read the manual once from start to finish before building. You are looking for three things: which side faces forward, which steps need loose joints, and where a second person is recommended.
This matters most with drawers, doors, and back panels. One reversed runner or upside-down side panel can seem harmless early on, then block several later steps.
Build the main frame
Start with the structure that gives the item its shape: side panels, base, top, rails, or main supports. Shelves, doors, drawers, feet, and decorative covers are easier to fit once the frame is standing square.
For lightweight occasional furniture, such as a small bedside table, hand pressure may be enough to hold panels in place. For daily-use furniture, such as a bed, desk, dining chair, or tall storage unit, do not balance large panels alone while trying to fasten them. That is how holes get enlarged and corners crack.
Fit each fastener loosely
Start screws, bolts, cams, and connector fittings without fully tightening them. The frame needs a little movement while multiple holes and edges settle into place.
Check the panel alignment
Before final tightening, step back and check whether the corners look even, the gaps are similar, and the pre-drilled holes still match the next step. If something is slightly off, loosen nearby hardware and adjust the frame instead of forcing the next screw at an angle.
Tighten the hardware evenly
Once the frame is aligned, tighten in stages rather than finishing one corner completely. Move across the frame: one side, then the opposite side, then back again. This keeps pressure balanced and reduces twisting.
- Stop at firm: crushed material is not stronger.
- Use the right tool size: a loose bit strips screw heads quickly.
- Recheck gaps: a gap usually means misalignment, not "tighten harder."
Test the finished furniture
Set the furniture where it will be used and test it before loading it. Press gently on weight-bearing surfaces, open and close moving parts, and check for wobble. For tall furniture, use the supplied wall anchor or anti-tip hardware when the manufacturer includes it, especially in homes with children, pets, or uneven floors.
How do you tighten furniture hardware correctly?
Furniture hardware should be tightened with control, not force. The safest method is to start by hand, keep the frame adjustable during alignment, tighten opposite sides gradually, and stop once the joint feels secure.
Start every fastener by hand
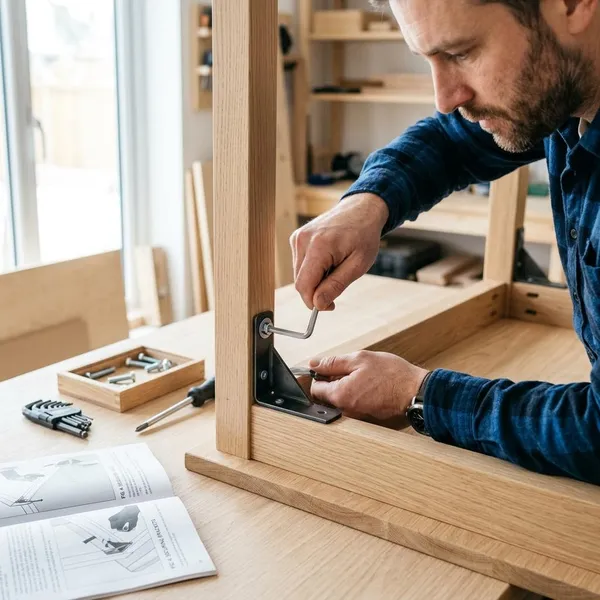
Thread each screw or bolt by hand for the first few turns. If it catches smoothly, continue with the correct tool. If it bites, tilts, or resists immediately, back it out and realign it. Powering through that first resistance is a fast way to cross-thread a bolt or strip a particleboard hole.
Keep joints loose during alignment
Loose joints are useful during assembly because they let panels shift into their proper position. This is not sloppy work; it is controlled adjustment. Tighten too early and the last holes may no longer meet.
Tighten opposite sides gradually
On rectangular frames, tighten like you would level pressure across a lid: one corner, the opposite corner, then the remaining sides in small stages. This is especially helpful for desks, bed frames, shelving units, and cabinets, where a slight twist can turn into wobble or uneven doors.
Use low torque with power tools
A drill or driver is fine for some flat-pack furniture, but use a low clutch setting and slow speed. Let the tool do the middle of the work, then finish the final turns by hand so you can feel when the joint is seated.
Avoid using a power driver on delicate cam locks, short screws near panel edges, or any fastener that already feels misaligned. In those spots, hand tools give better control.
Stop when the joint feels secure
Stop when the parts sit firmly together without wobble, grinding, or a widening gap. More pressure can crush engineered wood, spin out an insert, or weaken the connection you were trying to strengthen.
How do you fix furniture assembly problems?
When furniture assembly goes wrong, do not force the next step. Most problems come from one of four causes: a part is reversed, a joint was tightened too soon, the frame is out of square, or the wrong fastener was used.
Loosen hardware to realign holes
If holes do not line up, loosen the surrounding screws or bolts before trying anything else. Hold the frame gently in the correct position and start the fastener by hand again. Do not drill a new hole or drive a screw at an angle unless the manufacturer gives that instruction, because it can weaken the panel.
Square the frame to stop wobbling
A wobbling item often needs to be squared, not tightened harder. Put it on a flat surface, loosen the main frame slightly, adjust the corners until the structure sits evenly, and retighten in stages.
For bookcases and cabinets, the back panel is important. If it is nailed or screwed on while the frame is twisted, it can lock the wobble into the finished piece.
Reinstall reversed panels correctly
Remove and reinstall a reversed panel as soon as you notice it. Check hole positions, unfinished edges, grooves, hinge holes, and drawer runner locations against the diagram. Taking one section apart is frustrating, but building around the mistake usually creates worse alignment and weaker joints.
Replace stripped or damaged fasteners
Replace stripped screws, bent brackets, damaged cams, or bolts with bad threads. A weak connector may seem acceptable on a decorative trim piece, but not on a chair leg, bed rail, shelf support, or anything that carries body weight or heavy storage.
Use the exact replacement from the spare parts bag or the manufacturer when possible. If you buy a replacement locally, match length, diameter, head style, and thread type as closely as you can.
Request missing parts from the seller
If a structural part is missing, stop and contact the seller or manufacturer with the model number and part label from the manual. Send clear photos of the parts list and what you received. Improvising with a random screw or bracket may work for a temporary, low-load item, but it is not worth the risk on furniture that supports weight or needs to stay stable long term.
Conclusion
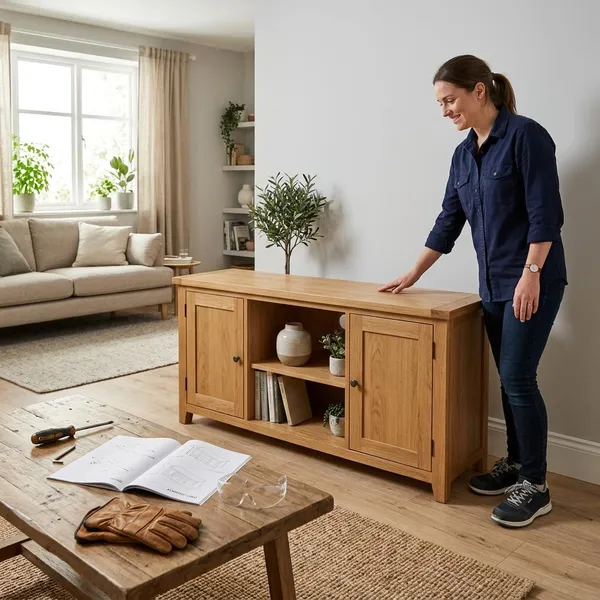
Good furniture assembly is mostly about patience at the points where rushing feels tempting: checking parts, reading the orientation, leaving joints loose, and tightening only after the frame is square. If a piece will be used every day or has to support real weight, be more cautious than you would with a small temporary item; a steady, aligned build is worth far more than finishing ten minutes faster.